
|
|
MAWATAS - SILK HANKIES TO SPIN
This is how to make mawatas, or silk hankies. Each hankie is a single Bombyx mori cocoon attenuated (spread out) into a large square; these are easy to spin, and can also be used in textile arts such as papermaking and felting.
The original name, mawata, comes from Japanese, and means "to spread around." This form of silk was originally used as padding inside winter kimonos and other garments, as well as being spun into yarn.
To begin, the cocoons are placed in a crock pot for about 30 to 45 minutes, in a solution of 1 gallon water, 1/4 cup Orvus paste, and 1/4 cup washing soda. The cocoons will want to float; it helps to dunk them a few times to get them good and wet. The solution dissolves the sericin, or silk gum, that holds the cocoons together. The cocoons are done when they can be easily squished out of shape, but take them out before they become formless blobs. Be careful handling the cooked cocoons, as they are hot, and sometimes filled with hot water. It can squirt out and surprise you. Ask me how I know, eh?

This is the cocoon after it comes out of the simmering degumming solution.
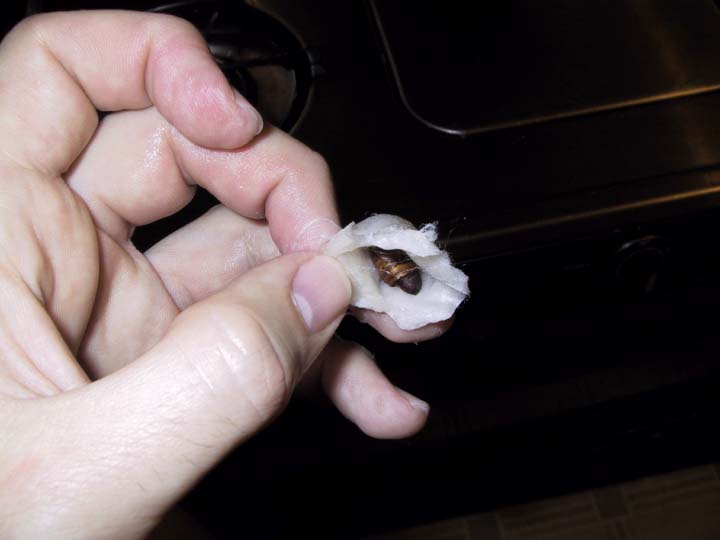
I wiggle the end open, without breaking or cutting the fibers, and take the bug out.
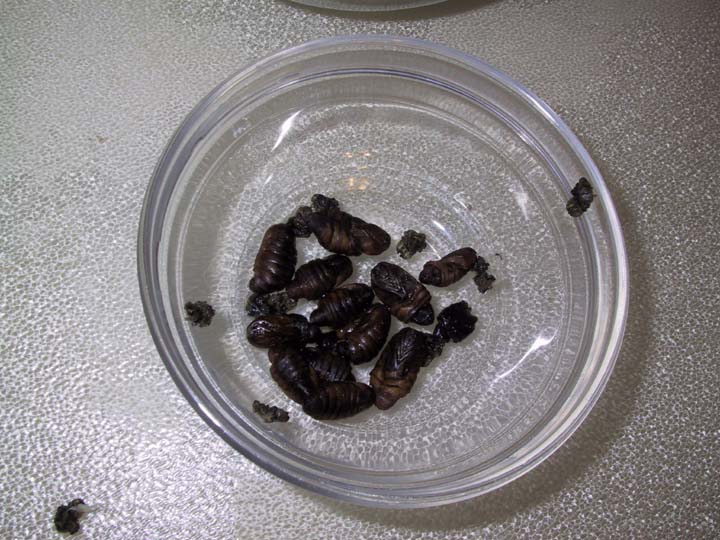
This is what comes out - each one gives up a dead pupa, and a piece of caterpillar skin.
Then, I begin to stretch out and attenuate the cocoon. I can't show the part where I hook one corner on a post sticking out of the frame, then spread it out to hook on all the other posts, because I'm taking these pictures myself and it's a two-handed operation.
.
Here's a stack of about a dozen cocoons that I've spread out on the frame, one on top another. The frame that I'm using is made from 4 eight-inch stretcher bars, used for stretching canvas, and four little picture-hanger pegs that are like a nail on both ends.
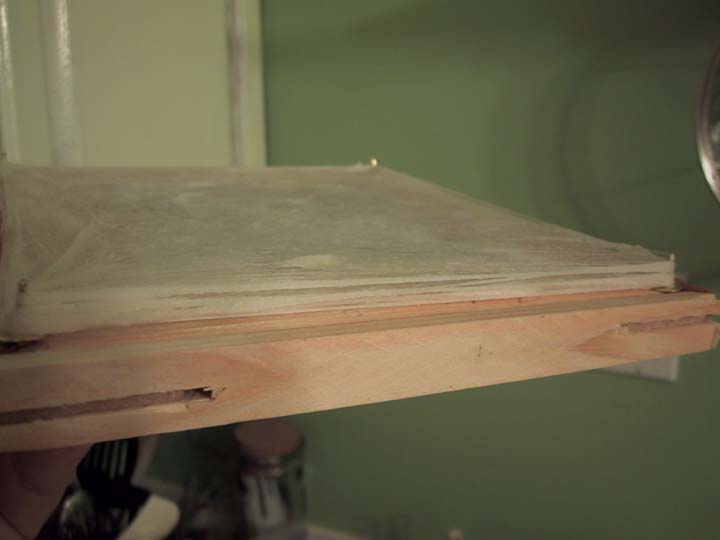
This is a side view; you can see the thickness it builds up. After I've made a good stack of them (usually about ten or so) I rinse them in the sink with clean water until they stop sudsing, then rinse with a solution of citric acid in water to remove any traces of the alkaline washing soda, and then I rinse with Milsoft, a special silk fabric softener. The acid and Milsoft rinses are easiest to do with a bowl and a cup; I hold the frame over the bowl, and pour the solutions through the hankies using the cup. When rinsing, be careful not to rub the stack of hankies, as it can tangle the fibers between the layers.
I don't have a photo of the next step yet. I turn the frame hankies-down on a piece of absorbent toweling (I use one of those Super-Shammy cloths, but paper towels work too) and free the hankies from the frame. I use a dinner fork to pry the stack of hankies off the prongs of the frame, keeping the whole stack together. Once all the corners are free, I lift the frame off, and put another layer of toweling on top of the hankies, and roll and squeeze them to help them dry. Then, I hang the completed stack up to dry thoroughly.
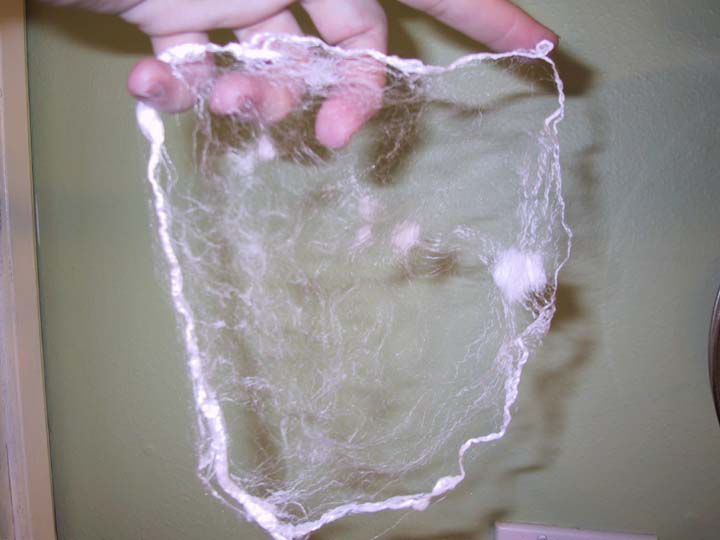
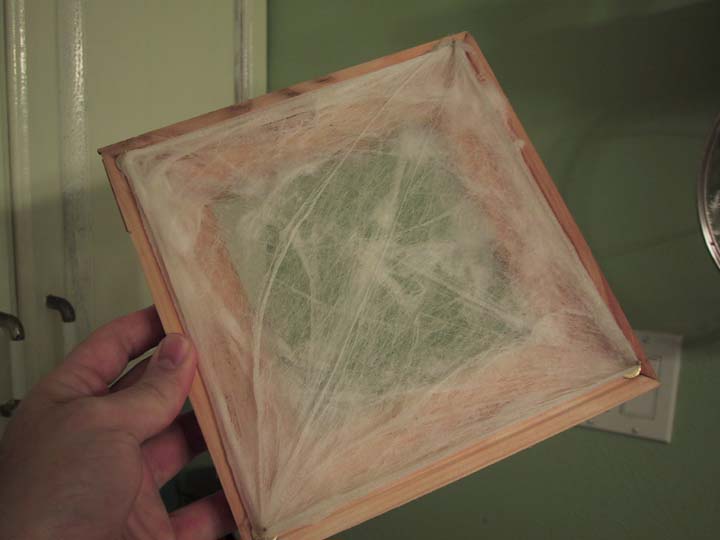
This is a single mawata (one cocoon worth), after it's dried. The patch that didn't spread out smoothly is the cradle - the last bit of silk that the worm spun before changing its skin inside the cocoon. My mawatas aren't quite as smoothly spread out as the commercial version; the commercial ones are a lot more consistently spread than this, and the edges are thinner. The difference is pretty much impossible to tell once they're spun up. As with many textile techniques, practice helps a lot.
A few suggestions and variations:
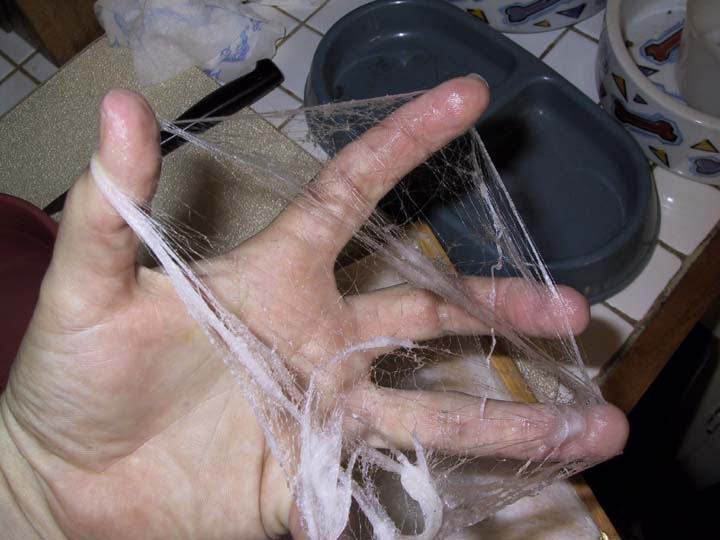
In order to spin from hankies, separate out a single layer, then put your hands through the center. Stretch the hankie out into a big donut of fiber, and then keep pre-drafting it out until it's as thin as you like. Roll the fiber into a little bird's-nest, make up as many as you like, and then you're ready to go! It is difficult to draft this fiber if even a hint of twist works its way into the drafting zone, because the fibers are so long. Hankies are excellent as a carry-around project, because the fibers don't fly away and get on things like many silk preparations can. Hankies naturally make a slightly textured yarn, with occasional slubs and a lower sheen.
Amy Singer of Knitty.com shows how to spin silk hankies here - with a link to wormspit.com!
Carol Weymar has an excellent tutorial on spinning from silk caps here; the technique is very similar.
If you have hankies that have been dyed (or if you dye your own!) you can preserve the colorways by stretching the hankie horizontally in one whole piece instead of punching through the center. If a hankie is dyed in striped areas of color, stretching opposite of the stripes will keep patches of separate colors in the roving, while stretching in the direction of the stripes will blend the colors more.